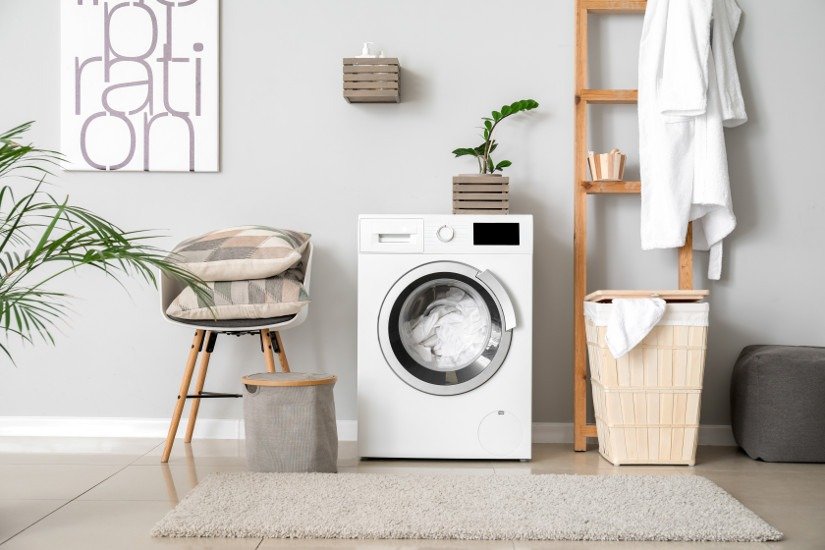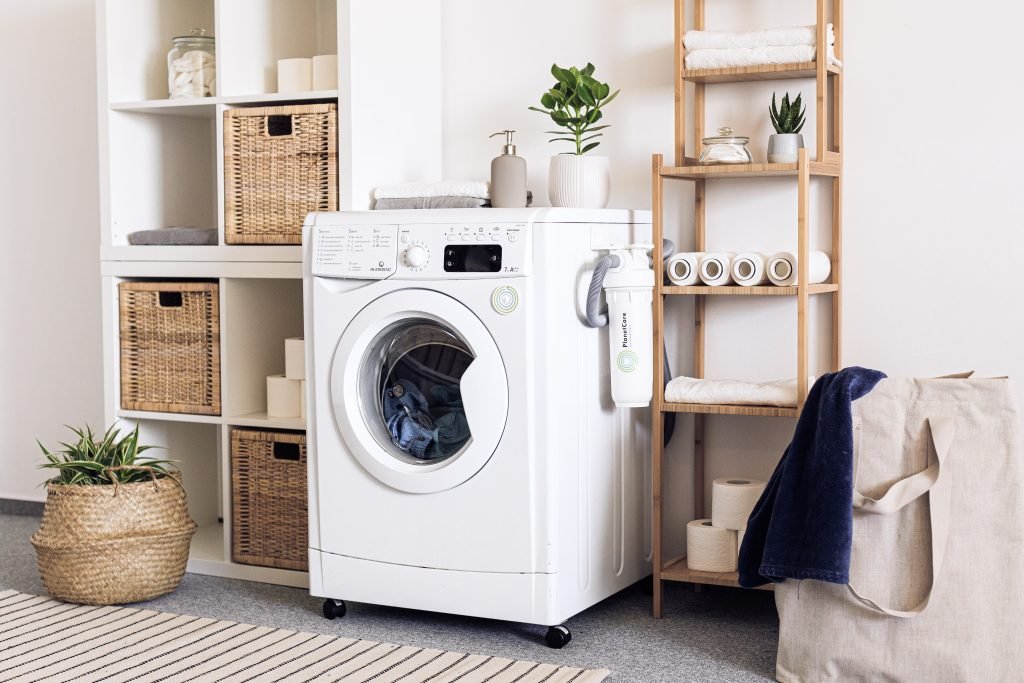
If you’re like most people, you probably rely on your washing machine to keep your clothes clean and fresh. But did you know that your washer needs a little TLC of its own?
Over time, detergent residue, fabric softener buildup, and hard water deposits can accumulate inside your machine, leading to musty odors, reduced cleaning power, and even damage to the appliance itself.
The good news is that cleaning your washing machine is an easy task that you can do yourself with just a few simple supplies. Not only will regular maintenance help extend the life of your machine, but it will also ensure that your clothes are coming out as clean as possible.
So whether you’re dealing with a funky smell or just want to stay ahead of any potential issues down the road, keep reading for our step-by-step guide on how to clean your washing machine from top to bottom.
Identifying When It’s Time to Clean Your Washing Machine
It’s important to know when it’s time to give your trusty laundry buddy a little TLC. A washing machine that isn’t cleaned regularly can start to show signs of buildup, which can lead to some pretty nasty consequences if ignored.
If you start noticing that your clothes aren’t coming out as clean as they used to, or if you smell a musty odor coming from the machine, it’s definitely time for a cleaning. Ignoring the signs of buildup in your washing machine can result in poor performance and even damage over time.
Hard water deposits and soap scum can build up inside the drum and hoses, causing clogs and leaks. Plus, mold and mildew can thrive in damp environments like the interior of a washing machine, leading to foul odors and potentially harmful bacteria on your clothes.
So don’t wait until it’s too late – take action now by gathering your cleaning supplies.
Gathering Your Cleaning Supplies
Gather all the necessary supplies like a squirrel stocking up on acorns before winter. Begin by choosing appropriate cleaning products for your washing machine. You can either use commercial cleaners or eco-friendly cleaning alternatives such as vinegar, baking soda, and essential oils. Make sure to read the label of the product and follow the instructions carefully.
Next, prepare a few microfiber or cotton cloths, an old toothbrush, and a small bowl for mixing cleaning solutions if needed. You might also need gloves to protect your hands from harsh chemicals.
Once you’ve gathered everything on your list, it’s time to move on to the next step: cleaning the exterior of your washing machine.
Cleaning the Exterior of Your Washing Machine
Before diving into the interior, take a moment to give your washing machine’s exterior a shine. Wipe down the outside with a damp cloth and all-purpose cleaner to remove any dirt or grime that has accumulated. If you’re looking for some DIY hacks, try using vinegar or baking soda as natural cleaners. These household items can help remove stubborn stains and leave your washing machine smelling fresh.
When cleaning the exterior, don’t forget to pay attention to small details like knobs and buttons. Use a toothbrush or cotton swab dipped in cleaning solution to get into crevices and hard-to-reach areas.
Once you’ve finished wiping everything down, dry off any excess moisture with another clean cloth.
Now that the outside of your washing machine is sparkling clean, it’s time to move on to removing and cleaning the detergent dispenser.
Removing and Cleaning the Detergent Dispenser
You probably think the detergent dispenser is just a simple part of your laundry routine, but oh boy, you’re in for a surprise when you see the gunk and buildup hiding inside.
Before cleaning it, inspect the dispenser thoroughly to ensure there aren’t any cracks or leaks. Proper usage of detergent dispenser is essential to avoid any damage caused by leakage.
Now that you’ve inspected your detergent dispenser, let’s get down to cleaning it! Here are five things you’ll need to clean it properly:
– A bowl of hot water
– Dish soap
– Scrub brush
– Toothbrush
– Soft cloth
Using a combination of dish soap and hot water, scrub away at any buildup or residue on the inside and outside of the dispenser using a scrub brush or toothbrush. Rinse thoroughly with hot water and dry with a soft cloth.
And now that your detergent dispenser is sparkling clean, let’s move onto tackling the interior of your washing machine.
Cleaning the Interior of Your Washing Machine
Feeling uneasy about the hidden germs and grime lurking in the depths of your laundry system? It’s time to give your trusty helper a deep cleanse, starting with its inner workings.
To clean the interior of your washing machine, you’ll need some basic household items such as vinegar and baking soda. Firstly, add two cups of white vinegar into the detergent dispenser and run a hot water cycle. Vinegar helps to dissolve mineral buildup and disinfects bacteria that may be present in your washing machine.
After this cycle is complete, sprinkle half a cup of baking soda directly into the drum, then run another hot water cycle. This will help remove any lingering odors and stains from your clothes. For more deep cleaning techniques, consider leaving the solution to soak for an hour before running another cycle or using specialized washing machine cleaning products available on the market today.
Now that you have tackled the inside components of your washing machine, it’s time to move onto cleaning the drum and agitator thoroughly.
Cleaning the Drum and Agitator
Now it’s time to tackle the inside of your trusty helper and give the drum and agitator a good scrubbing, so your laundry can come out fresher than ever before.
First, mix equal parts of water and cleaning solution in a bucket. Dip a clean rag into the solution and wipe down the interior of the drum thoroughly, paying close attention to any stains or residue that have built up over time.
Next, remove any removable parts from the drum such as lint traps or agitators. Soak them in hot water mixed with cleaning solution for at least 30 minutes before scrubbing them gently with a soft-bristled brush.
Once everything is cleaned to your satisfaction, use fresh water to rinse all components thoroughly before reassembling them back into place.
Now that you’ve taken care of cleaning the drum and agitator, let’s move on to removing and cleaning the filter so that your washing machine stays in top condition for years to come!
Removing and Cleaning the Filter
Don’t forget to regularly remove and clean the filter, as cleaning frequency is key to maintaining your washing machine’s optimal performance. The filter catches lint, hair, and other small particles that may clog up the drainage system if left unattended for too long. Neglecting proper filter maintenance can lead to issues such as leaks or foul odors emanating from your machine.
To begin removing the filter, locate it near the bottom front of your washer. Consult your user manual if you’re unsure of its location.
Once you’ve found it, unscrew or pop off the cover to access the filter. Be prepared with a towel or bucket nearby as some residual water may spill out when you open it up.
Clean the debris from around and inside the filter using a soft brush or cloth before reattaching it securely back into place.
With this step done, let’s move on to dealing with mold and mildew in our next section.
Dealing with Mold and Mildew
Maintaining a fresh and hygienic laundry environment can be challenging, but addressing mold and mildew in your washer is crucial to preventing unpleasant smells and potential health risks. If you notice any mildew stains or musty odors, it’s time to take action.
Start by running an empty cycle with hot water and two cups of white vinegar to kill off any bacteria or mold spores lurking inside the machine.
Next, remove any visible mold or mildew from the drum and door seal using a solution of equal parts water and hydrogen peroxide. Simply spray the affected areas, let sit for 10 minutes, then wipe away with a clean cloth.
For tougher stains, consider using natural cleaning solutions like baking soda or tea tree oil mixed with water. Once you’ve thoroughly cleaned the inside of your washer, don’t forget to air out the drum by leaving the door open between cycles to prevent future buildup.
By taking these steps, you’ll not only eliminate existing mold and mildew but also prevent them from returning in the future. It’s important to make this task a regular part of your laundry routine, especially if you live in a humid climate where mold growth is more common.
With proper maintenance and care, your washing machine will continue to provide clean clothes for years to come.
Preventing Future Buildup
To avoid the buildup of mold and mildew in your washer, you should regularly leave the door open after each use to allow air to circulate and dry out any excess moisture. This is one of the most important preventive measures you can take to ensure that your washing machine stays clean in the long term.
Additionally, it’s a good idea to wipe down the door and drum with a clean cloth after each load to remove any remaining moisture or detergent residue.
Another way to prevent future buildup is by using less detergent than what is recommended by the manufacturer. Overusing detergent can create excess suds that trap dirt and grime in your washer, leading to unpleasant odors over time.
You may also want to consider using a washing machine cleaner once every few months as an extra measure for maintaining freshness and cleanliness.
With these simple steps, you can easily keep your washing machine running smoothly for years to come.
Maintaining Your Washing Machine
Keeping up with regular maintenance of your washer is crucial to ensure its longevity and optimal performance, allowing you to save money and avoid the hassle of unexpected breakdowns.
To keep your washing machine running smoothly, create a maintenance schedule that includes tasks such as cleaning lint filters, checking hoses for leaks or damage, and inspecting the drum for any signs of wear or tear. Depending on how frequently you use your machine, you may need to perform these tasks monthly or bi-monthly.
In addition to a maintenance schedule, it’s important to clean your washing machine regularly. The frequency at which you should clean your machine will depend on factors such as how often you use it and whether or not you have hard water. As a general rule of thumb, aim to clean your washing machine every three months.
This can be done by running an empty cycle with hot water and a cup of vinegar or bleach to remove any buildup in the drum and pipes. By maintaining your washing machine properly, you can extend its lifespan and prevent common issues from occurring down the line.
Troubleshooting Common Issues
If you’re experiencing problems with your washer, don’t fret – troubleshooting common issues can be simple and effective, helping you get back to doing laundry in no time. Here are some common solutions and best practices for the most common washing machine problems:
| Problem | Solution | Best Practice |
|---|---|---|
| ——— | ———- | ————— |
| Washer won’t start | Check power source | Plug directly into an outlet |
| Clothes come out wet | Check drainage system | Clean lint filter after each use |
| Machine makes loud noises | Level the machine | Balance load evenly |
Remember that proper maintenance is key to preventing future issues. If these solutions don’t work, it may be time to call a professional for repairs. In the next section, we’ll discuss some options for professional cleaning services to keep your washing machine running smoothly.
Professional Cleaning Options
Maintaining a well-functioning washer is crucial, and there are professional options available to ensure it stays in top shape.
One option is to hire a professional cleaning service that specializes in washing machine maintenance. These services typically use high-quality cleaning agents and tools to thoroughly clean your washing machine’s interior, eliminating any buildup or residue that may be affecting its performance.
There are pros and cons to hiring a professional cleaning service. On the one hand, you can rest easy knowing that your washing machine is being properly maintained by trained professionals. Additionally, these services often come with warranties or guarantees, so if something goes wrong after the cleaning, you have recourse for damages.
However, the cost of hiring a professional cleaner can be quite steep compared to DIY methods. It’s important to weigh the benefits against the cost before making a decision on whether or not to hire a professional cleaner for your washing machine.
Frequently Asked Questions
Can I use regular household cleaners to clean my washing machine or do I need to buy a specific product?
If you’re wondering whether you should use regular household cleaners or a specialized product to clean your washing machine, the answer is that it depends on your preference.
While DIY alternatives can be effective, using a specialized product has its benefits. These products are specifically designed to break down and remove buildup in the machine, which can prolong its lifespan and prevent malfunctions. Additionally, they often contain ingredients that sanitize and deodorize the interior of the machine.
However, if you prefer a more natural approach or want to save money, there are many DIY options available online that utilize common household items such as vinegar and baking soda.
Ultimately, both options can be effective so choose what works best for you!
How often should I be cleaning my washing machine?
Keeping your washing machine in tip-top shape is crucial for ensuring that your clothes come out clean and fresh every time. To do this, it’s important to know how often you should be cleaning your machine.
The frequency with which you clean your washing machine depends on a variety of factors, including how often you use it, how hard your water is, and what types of laundry detergents you use. Generally speaking, experts recommend cleaning your washing machine at least once every six months to keep it running smoothly and prevent buildup from occurring.
Some maintenance tips include regularly wiping down the drum and door seal with a damp cloth after each use, running an empty cycle with hot water and vinegar every few months, and using high-quality detergent that won’t leave residue behind.
Remember: taking care of your washing machine is just as important as taking care of your clothes!
Is it safe to use bleach when cleaning my washing machine?
When it comes to cleaning your washing machine, using bleach can be a tricky decision. While there are pros to using bleach, such as its effectiveness at killing bacteria and removing stains, there are also cons.
Bleach can be harsh on certain materials and may cause discoloration or damage over time. If you decide not to use bleach, there are alternatives such as vinegar or baking soda that can still effectively clean your washing machine without the potential risks.
Our recommendation is to read your washing machine’s manual for specific instructions on what products are safe to use for cleaning. Ultimately, it’s up to you to weigh the pros and cons and make the best decision for your machine and its longevity.
What should I do if my washing machine still smells bad after cleaning it?
If your washing machine still smells bad after cleaning it, there are alternative methods to try. You can opt for natural cleaning solutions like vinegar or baking soda instead of chemical cleaners that may be harsh on the environment and your skin.
However, if the mold and mildew persist, you need to deal with them immediately. Check the gasket around the door for any signs of mold growth and wipe it down with a solution of bleach and water.
Run an empty hot cycle with bleach or hydrogen peroxide to kill any remaining bacteria in the machine. Remember to keep your washing machine clean regularly by wiping down the drum, using high-efficiency detergent, and leaving the door open between washes to allow air circulation.
Can I use vinegar instead of bleach to clean my washing machine?
If you’re looking for an effective way to clean your washing machine without using bleach, vinegar is a great alternative.
Start by filling the washing machine with hot water and adding two cups of white vinegar. Let the machine agitate for a few minutes, then stop it and let the mixture sit for an hour.
After that, let the cycle run through completely. If you want to try other cleaning solutions, baking soda and hydrogen peroxide are also effective options.
Just mix half a cup of baking soda with two cups of warm water and add it to the detergent dispenser before running a cycle. For hydrogen peroxide, mix one cup with one gallon of hot water and pour into the drum before running a cycle.
No matter which method you choose, regular cleaning will ensure that your washing machine stays fresh and odor-free!
Conclusion
Congratulations! You’ve successfully learned how to clean your washing machine.
By following the steps outlined in this article, you can ensure that your washing machine is free of dirt, grime, and debris. This will ensure that your clothes come out fresh and clean every time.
Remember to gather all of your cleaning supplies before starting the cleaning process. Take care to clean both the exterior and interior of the washer, and ensure that you remove any buildup from the detergent dispenser.
With regular maintenance and preventative measures, you can keep your washing machine running smoothly for years to come. So go ahead, give your washing machine a good scrub down today – your clothes (and nose) will thank you!