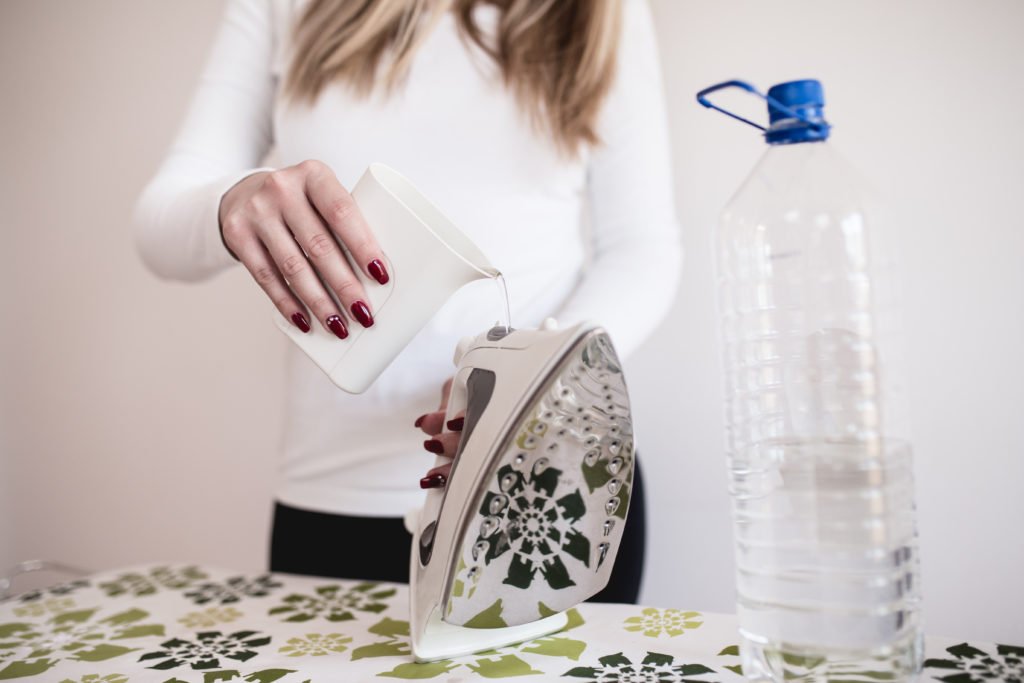
Steam irons are a game-changer when it comes to getting creases out of clothes, but if you don’t treat them right, they aren’t likely to last long. One of the simplest ways to keep your iron working at its best for years is to use the right water.
You might think that any water will do the same job, but you’d be wrong. Most types of water carry microscopic particles that can do long term damage to the vital steam system in your iron. Let’s take a closer look at the types of water available to you and which one will give you iron a long and limescale free life.
What are the different water types?
Most water types look the same, but at a microscopic level, they can be vastly different. This doesn’t make a lot of difference for many day to day uses, but when it comes to steam irons, those invisible particles can cause you big problems. Knowing about the different types of water will help you decide which is right for your iron.
Hard water/soft water
Hard water is water with high mineral content. It can be useful for your health, depending on the minerals, but it’s not so suitable for your steam iron. Every time you use hard water in your iron, it leaves small amounts of minerals, particularly calcium, behind. Over time the calcium will build up to form a hard deposit of limescale. This can block and damage the internal parts of your iron and leave chalky stains on your clothes.
Soft water contains lower levels of minerals and ions. It’s the better choice of the two because it doesn’t hold as much calcium and is less likely to cause large limescale deposits. However, soft water is not the ideal choice; it still contains some minerals and will create limescale over a more extended period.
Tap/purified water
Tap water is subject to numerous purification processes before it is sent to homes; but it still contains minerals, traces of chlorine and even microplastics. While these are not likely to cause any immediate damage to your iron, they will build up and are likely to shorten its life.
Purified water is water that has likely been treated to remove biological contaminants like viruses and bacteria. This is most often done chemically by adding chlorine or by exposing it to a highly concentrated UV light. Although most purified water is safe to drink, it may still contain other contaminants, including minerals that can cause damage to your steam iron.
Neither tap or purified water is the best choice to use in your iron. Although both have undergone some form of treatment, they are still likely to contain substances that will clog up the steam mechanism.
Deionised or distilled water
Distilled water and deionised water have undergone specific treatment processes that affect how you can use it.
Deionised water is treated to eradicate any ions, these are most likely to be microscopic particles of dissolved mineral salts. The result is ultra-clean water that is unlikely to cause limescale or other mineral residues.
Distilled water is heated until it becomes a vapour, leaving any contaminants and impurities behind. Then it is condensed back into a very pure liquid with no pollutants.
Both types are unlikely to cause your iron any damage, but deionised water may still carry contaminants. It is not always wholly filtered, so even though the ions have been removed, other minute particles may remain.
As a result, distilled water is the best choice to use in your steam iron. Because it is entirely pure, it will cause no residue to build up and will provide clean and effective steam every time.
How can I distil water at home?
You can buy distilled water, or you can create your own in a few simple steps.
You will need:
- A large preserving pan with a lid
- A heatproof glass bowl. Small enough to fit into the pan with enough space around it but big enough to hold as much distilled water as you want to produce.
- A small metal pan rack or a brick. This must be small enough to sit inside your pan.
- As many freezer blocks or ice packs as you have.
The steps:
- Start by placing the rack or brick on the bottom of your pan, then place it on your hob.
- Now fill the pan half full with water.
- Place the glass bowl into the water, so it either rests on the rack or floats just above it.
- Now turn the pan lid upside down and fit it onto the pan. There should be some space between the lid and the glass bowl. If they are too close together, remove some of the water from the pan or use a smaller bowl.
- Now turn on the hob and bring the water to the boil. The heat will turn the water into steam. The steam should hit the pan lid, turn back to a liquid and drip down into the bowl.
- To make the process faster, add your freezer blocks to the upturned pan lid. This will help the steam to cool quicker and condense back to liquid sooner.
- When there is enough water collected in the glass bowl, you can turn off the heat. The water in the bowl is the distilled water, and you can use it for ironing.
This is an effective process, but you will need a little patience to get the amount you need. You may also need to practice a couple of times to make sure the equipment you’ve selected will do the job effectively. If it doesn’t work the first time, try swapping out each piece of equipment until the clean water drips successfully into the bowl.
Other things you can do to maintain your iron 
As well as using distilled water, there are some other things to consider that will help you maintain your iron:
- Empty the tank after use – If you leave water in the tank, it’s likely to leak out onto the soleplate and cause it to rust.
- Clean the soleplate regularly – Wiping the soleplate down with a damp cloth after use will prevent any residues or dirt building up. For stubborn marks, a 50/50 mix of vinegar and baking soda wiped on with a microfibre cloth will help.
- Store it correctly – Wait until the iron has completely cooled then put it away resting it on the flat area behind the handle, so the soleplate is raised off the shelf. Carefully wrap the cable to prevent it from getting tangled.
Things to avoid
When cleaning your iron, there are a few things that you should avoid:
- Abrasive cleaners – Cleaners like scourers or wire wool are great to remove tough marks, but they are likely to scratch and damage the soleplate of your iron. Instead, try using a microfibre cloth.
- Harsh chemical cleaning products – Always refer to your iron’s instructions when using cleaning products. Some are safe to use, but others contain strong chemicals that could cause damage.
- Pouring vinegar into the water reservoir – Vinegar can be great for cleaning external parts of your iron, but you shouldn’t use it internally. Once it’s in, it’s challenging to get out entirely and can cause the steam to smell. It will also speed up the corrosion of any metal parts it can access.
- Ironing on too high a setting – Only use the heat setting that your clothes require. Any higher and you may damage or melt the fabric which could leave a sticky residue on the soleplate.
Conclusion
With the right water and regular cleaning, it’s likely that you can significantly extend the life of your iron. Without limescale build-up and corrosion, you will continue to get great results and never have to deal with musty smelling water or chalky marks.
